.jpg)


The USA remains one of the top destinations for international students from all across the globe. Last year, the USA welcomed over 200,000 students from India, marking the significance of Indian students in their economy.
However, applying for a USA study visa is not an easy task. It can be frustrating to follow all of steps, especially if you are not familiar with the complex US immigration laws. Getting a study visa to the USA can seem like an impossible task. Read on.
Types of USA Study Visas
Applying for a USA study visa is a vital step. However, first, you have to decide the type of student visa you want.
There are mainly three types of USA study visas. These are:
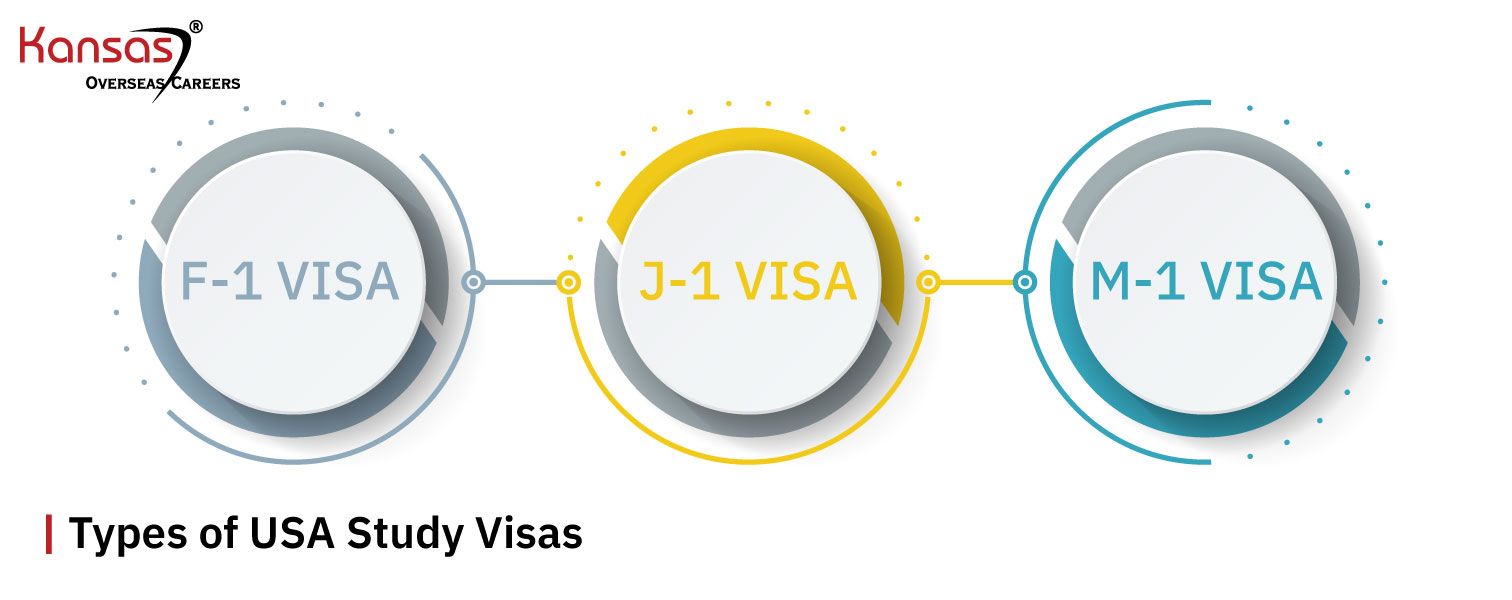
- F-1 visa: This visa is issued to students who want to pursue educational courses. But, the educational institution must be accredited by SEVP. Students with an F visa can only work part-time, which can be up to 20 hours a week.
- J-1 visa: It is an exchange visitor visa for students. The J1 visa is granted to people who wish to participate in work and study-based exchange visitor programs in the United States for a limited time.
- M-1 visa: This visa is for students applying for the non-academic schools. The vocational institution must have the approval of the United States Citizenship & Immigration Services (USCIS). You are not allowed to work with this visa.
How to apply for the USA study visa if you are an Indian?
To apply for the most common visa, the F Visa, you need to follow these steps:
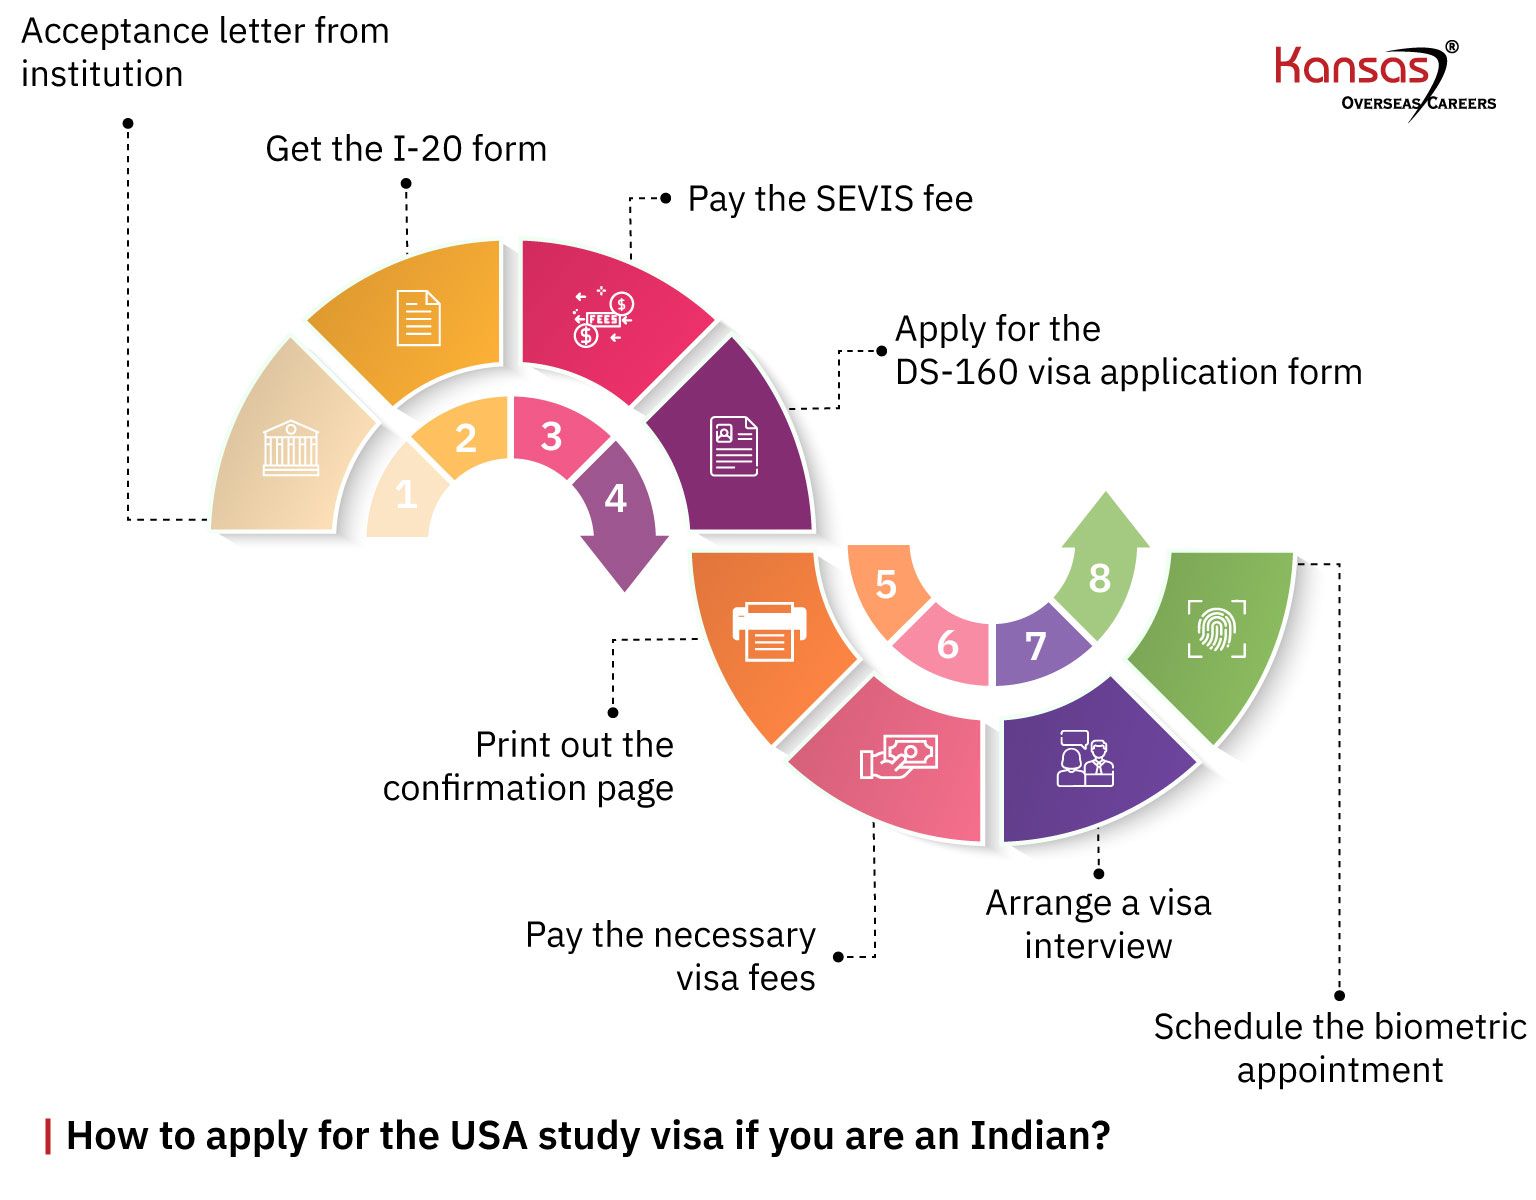
Step 1: Get the letter of acceptance from the educational institution
First, you have to start applying to the college or school that you desire. Remember that the school and the course must have the accreditation of the US Government’s Student and Exchange Visitor Program (SEVP).
You can check it out from the official US website. After you get the acceptance letter, you will be enrolled in the SEVIS system.
Step 2: Get the I-20 form
After your enrollment into the SEVIS system, you will receive the I-20 form. The form makes you eligible for both the M and F type visa.
Step 3: Pay the SEVIS fee
You must pay the required SEVIS fee. The SEVIS fee for an F-1 type visa is $350. You can pay the SEVIS fee anytime during the application process. But, it is advisable to make the payment before filling the DS-160 form. The latest time for paying the SEVIS fee is 72 hours before the visa interview.
Step 4: Apply for the DS-160 visa application form
The next step is to complete the DS-160 visa application form. You must fill the form without errors. Even the most minute mistake can lead to visa rejections. You need to have the following information to complete the application form:
- Personal details (name, phone number, address, and date of birth)
- Details of passport
- Educational qualifications and details related to it.
- Travel plans
- Information on the person accompanying you
- Proof of fund
- Details of the sponsor (if you have one)
- Background information
- Information regarding health
- SEVIS ID
Step 5: Print out the confirmation page
The DS-160 visa application form is an online mode of application. You will have to sign it electronically. Then, you must upload the application.
After that, you will be directed to a confirmation page. The page contains a barcode number, barcode, and the application ID number. You must take a print-out of this page.
Step 6: Pay the necessary visa fees
After filling the form, you must pay the visa fees. The visa fee for the F-1 type visa is $160. Indians can pay by cash or any recognized banking institutions. For more details, you can read the instructions given on the US embassy's website.
Step 7: Arrange a visa interview
The next step is to schedule a visa interview. The interview date must be 120 days before you join the course. You must arrive at the interview on time. Also, be polite and answer the questions directly.
Step 8: Schedule the biometric appointment
In the biometric appointment, you have to visit the designated biometrics center as advised by your immigration consultant. There, your fingerprints will be taken, and a clear photograph of your face will be captured. Make sure that you follow the photograph instructions carefully:
Your passport photo must be:
- In colour
- 2 x 2 inches (51 x 51 mm) in size
- Taken within the last 6 months to reflect your current appearance
- Taken in front of a plain white or off-white background
- Taken in full-face view directly facing the camera
- With a neutral facial expression and both eyes open
- Taken in clothing that you normally wear daily:
- Uniforms should not be worn in your photo, except religious clothing that is worn daily.
- Do not wear a hat or head covering that obscures the hair or hairline unless worn daily for a religious purpose. Your full face must be visible, and the head covering must not cast any shadows on your face.
- Headphones, wireless hands-free devices or similar items are not acceptable in your photo.
- If you normally wear a hearing device or similar articles, they may be worn for your photo.
- Glasses are not acceptable in your photo. If you cannot remove your glasses for medical reasons, please include a signed note from your doctor with your application.
- Glare on glasses is not acceptable in your photo. Glare can be avoided with a slight downward tilt of the glasses or by removing the glasses or by turning off the camera flash.
Documents Required
Gather and prepare the following required documents before your visa interview:
- Passport valid for travel to the United States
- Nonimmigrant Visa Application, Form DS-160 confirmation page.
- Application fee payment receipt.
- IELTS/TOEFL Score Card
- Certificate of Eligibility for Nonimmigrant (F-1) Student Status-For Academic and Language Students
- Form I-20 or Certificate of Eligibility for Nonimmigrant (M-1) Student Status for Vocational Students, Form I-20
- Transcripts, diplomas, degrees, or certificates from your previous institutions
- Proof of funds: Bank statements, scholarship, etc.
Cost and Processing Time
|
Visa Type |
Total Application Cost |
Process Time |
|
F1 Visa |
$510 |
3-6 weeks |
|
J1 Visa |
$160 |
7 days |
|
M1 Visa |
$160 |
4- 6 weeks |
The Do’s and Don’ts you need to consider
Do’s of applying for a USA study Visa:
1. Make time for mock interviews
The visa interview is a critical part of getting the USA study visa. You must practice with mock interviews. To gain success in the interview, you can opt for either. First, you can seek the professional guidance of the visa consultants. They will prepare you completely. Secondly, you can do it yourself. It will require you to search the internet for sample questions and answers.
2. Wear formals and be confident
Clothing has a massive impact. You must dress in formals before going for the interview. The clothes must indicate your seriousness in obtaining the visa. Moreover, you must be confident while answering the questions. Do not fumble. If you did not hear the question properly, ask again. Also, make sure that your tone is polite.
3. Listen carefully
The US embassy advises the students to listen carefully to the visa officers. You must concentrate on the questions asked. To make sure that you can provide the answer promptly, read the application form. The answer you provide must be concise and display your intent. It is your chance to convince the officers that you need the visa.
4. Follow the rules diligentlyYou must follow all the guidelines mentioned. You mustn’t bend or skip them. When you fill the visa application form, you must fill in all the boxes. Make sure that your answers are accurate and true. Also, the photograph requirements must be met. Ensure that the photographs are recent and fulfil the criteria.
Don’ts of applying for a USA study Visa:
1. Do not seek connections
Do not attempt to use your connections to sway the consulate. In terms of visa approvals, the consular officer has the final authority. You need to impress them during the interview. Using political or any other aid is a bad choice. It might cause more issues for you. Furthermore, it can delay your visa approval.
2. Do not make dishonest statements
Dishonesty will not favour you in the visa interview. Instead, you must be honest, polite, and forthcoming. If you lie and then get caught, you might never get the visa. To be safe, do not go down that route.
3. Do not take along fake documents
There are strict rules regarding false documents. The US consulate declares that anyone with fake papers will be banned from the USA for life. It is a harsh restriction and can have a massive impact on your life. The rule was enforced to caution students against fraudulent immigration agents. Always submit or carry valid and legal documents.
4. Do not put up a fake accent
When you speak with the visa officers, talk normally. Do not use fake accents to impress visa officers. But, make sure that you are fluent in the English language. For that, indulge in daily English conversations and ensure that they can hear you correctly.
Conclusion
The USA study visa is a dream come true for thousands of Indians. These students are eager to have better job prospects. But, applying for a USA study visa can become daunting very quickly. Not knowing the exact details can lead to silly errors. The common mistakes can have huge consequences, including visa denials.
So, here’s the gist of the steps you need to follow:
Step 1: Get the letter of acceptance from the educational institution
Step 2: Get the I-20 form
Step 3: Pay the SEVIS fee
Step 4: Apply for the DS-160 visa application form
Step 5: Print out the confirmation page
Step 6: Pay the necessary visa fees
Step 7: Arrange a visa interview
Step 8: Schedule the biometric appointment
Other Important FAQs
Is a US student visa easy to get?
As a matter of fact, it is. The process may seem a little complicated, but, every year hundreds of thousands of students get accepted to US Universities. So, it is one of the easiest visas to get.
Who can sponsor me to study in the USA?
Parents, Blood relatives or a mix of both, one parent and one blood relative also can sponsor your tuition fees in the US.
Which is the easiest country to get a student visa?
- Australia.
- Canada.
- UK.
- USA.
- New Zealand.
How much can I earn in the USA as a student?
You can earn $7.25 per hour for working as a student in the U.S. If you work 20 hours per week , you will earn at least $ 145 week. Which is around INR 10,575 per week!